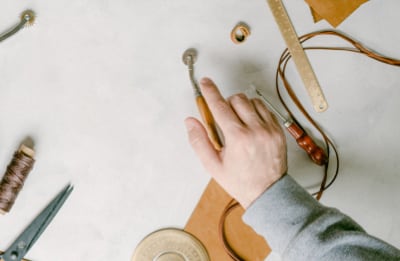
Welcome, fellow DIY craft enthusiasts! If you’re eager to add a personalized touch to your projects, making stickers with Cricut is the perfect avenue for creative expression. In this step-by-step guide, we’ll take you through the delightful journey of crafting your own unique stickers using the incredible Cricut machine. Whether you’re a seasoned crafter or a beginner, get ready to bring your artistic vision to life!
Materials You’ll Need:
1. Cricut machine
2. Cricut cutting mat
3. Sticker paper or vinyl sheets
4. Weeding tool
5. Scraper tool
6. Design software (Cricut Design Space)
7. Printer (for print-then-cut projects)
8. Your imagination and creativity!
Step 1: Set Up Your Cricut Machine
Before diving into the crafting process, make sure your Cricut machine is properly set up. Connect it to your computer or tablet, install the necessary software, and ensure your machine is calibrated. This will ensure precise cutting and a smooth crafting experience.
Step 2: Choose or Create Your Design
Whether you have a specific design in mind or you’re exploring the vast world of Cricut Design Space, choose or create your sticker design. The software provides an array of templates, fonts, and images to spark your creativity. Import your own images or create something entirely unique!
Step 3: Prepare Your Sticker Material
Load your chosen sticker paper or vinyl sheet onto the Cricut cutting mat. Make sure the material is secure, ensuring a precise cut. If you’re using printable sticker paper, print your design before loading it into the machine.
Step 4: Customize Cutting Settings
Select the appropriate cutting settings for your chosen material. Cricut Design Space provides pre-set options for various materials, ensuring the perfect cut every time. Double-check the settings to avoid any mishaps and optimize the quality of your stickers.
Step 5: Load and Cut
Place the cutting mat with your material into the Cricut machine. Press the “Load” button on the machine, and then press “Go” on the software. Watch in awe as your Cricut machine transforms your design into a precisely cut sticker. Once the cutting is complete, carefully remove the stickers from the mat.
Step 6: Weed Your Stickers
Using a weeding tool, carefully remove any excess material from around your sticker design. This process is called “weeding” and ensures that only your intended design remains on the backing.
Step 7: Apply Transfer Tape (Optional)
For intricate designs or lettering, consider using transfer tape to lift your stickers off the backing and onto your desired surface. This step is optional but can be helpful for maintaining the integrity of your design.
Step 8: Admire and Share Your Creations
Congratulations! You’ve successfully crafted your own personalized stickers with Cricut. Admire your creations, share them with friends, or use them to embellish your DIY projects. The possibilities are endless, and your imagination is the only limit.
Conclusion:
Making stickers with Cricut is a delightful journey into the world of DIY crafting. Whether you’re creating custom labels, planner stickers, or adding a personal touch to your projects, the Cricut machine is your creative companion. Enjoy the process, experiment with different materials, and let your imagination run wild! Happy crafting!
